

Edible images on cookies can turn a simple batch into a party detail people notice immediately. A favorite photo, a tiny character-free theme, or a color-coordinated pattern gives each cookie a finished look without hours of hand painting. The best results come from treating the image as the final detail, not something to wrestle onto a wet cookie while everything else is still in motion.
Cookie surfaces behave differently from buttercream cakes. Royal icing dries firm, cookie shapes can be small, and too much moisture can quickly make a clean design look soft around the edges. This guide explains how to choose a suitable surface, place edible images gently, and pack the finished cookies so they arrive looking as neat as they did on the tray.
Start With the Right Kind of Edible Image
Before decorating, check what you actually have. Some edible images are printed on frosting sheets, while others use wafer paper or another edible medium. Both can be useful, but they do not always behave the same way on a dry iced cookie. The package or seller instructions should be the deciding voice on cutting, moisture, storage, and the recommended adhesive.
For a small cookie design, pre-cut circles or shapes are easier to center than a large sheet you cut at the last minute. If you are trimming images yourself, use clean, dry scissors or a food-safe cutter and leave a narrow border around the artwork. That border gives you room to handle the image without touching the printed center, and it keeps the design from running right to the cookie edge.
It also pays to make one test cookie before you decorate a whole order. Use the same icing, the same image material, and the same plan for storage. A single test tells you whether the image settles smoothly, whether the colors stay crisp, and whether you need to adjust the amount of adhesive. That is a much kinder experiment than discovering a problem after twenty cookies are already finished.
Use a Smooth, Fully Dry Icing Surface
A flat royal icing base is one of the cleanest surfaces for edible images on cookies. Flood the cookie as you normally would, let it level, and give it enough time to dry completely before you add the printed piece. The icing should look smooth and feel firm, not tacky or damp. A bumpy surface can show through a thin image, while a wet surface can soften it too quickly.

White icing is the least risky choice for a detailed image because it leaves the printed colors true to their original design. Pale colors can also work, especially for a bold pattern, but dark icing may change the look of a thin image or make its edge more noticeable. When the picture is the centerpiece, let it have a light, simple background.
Do not confuse dry with stale. A cookie can be fully iced and dry on top while still fresh enough to serve beautifully. The goal is simply a stable surface. If you have just moved the cookies from a cold room or container, wait for any condensation to disappear. Moisture is the common thread behind curled edges, blurred color, and an image that will not sit flat.
Choose an Adhesive With a Light Hand
Most cookie applications need a tiny amount of food-safe adhesive to help the image meet the dry royal icing. Follow the directions supplied with your specific image first. Depending on the product, that may be a light brush of clear piping gel, a small amount of edible glue, or another method the maker recommends. The important word is light. You are creating a thin connection, not soaking the cookie.
Put adhesive only where the image will sit, then spread it into an even, nearly invisible layer. A soft food-safe brush works well for this. Avoid puddles, drips, or a thick ring around the edge. Extra moisture has nowhere useful to go, so it can travel into the printed layer and create bubbles or ripples.
If your instructions allow water, use it sparingly. A barely damp brush is very different from a wet one. When you are unsure, use less and make another test cookie. Current edible-image handling guidance from Icing Images also emphasizes protecting sheets from moisture until it is time to apply them, which is especially useful in a busy baking kitchen.
How to Apply Edible Images to Cookies
Set up the cookies in one place before opening the images. Clear a dry counter, keep your hands clean and dry, and have the adhesive and a small brush ready. If the design has a top and bottom, check the direction while the image is still on its backing. This little pause prevents an upside-down photo or pattern from becoming the most memorable part of the batch.
- Prepare one cookie at a time. Add the thinnest even layer of the recommended edible adhesive to the iced area.
- Release the image slowly. Hold the backing at the edges, flex it gently if needed, and peel the backing away rather than pulling the image upward.
- Line up the center. Hover the image over the cookie, lower the middle first, and then ease the edges down in a gentle arc.
- Pat, do not rub. Use a clean, dry fingertip or a soft dry tool to make light contact from the center outward only if the image needs help settling.
- Leave it alone for a moment. Give the cookie time to set before moving it, stacking it, or adding any border decoration.

Work in small groups rather than applying images to every cookie at once. Placing four or six, then checking the alignment, gives you a chance to notice a direction or size issue before it repeats across the entire tray. It also keeps your workspace calm, which matters more than any special tool when you are handling delicate edible pieces.
Keep the Cookie Design Simple Around the Image
An edible image already brings color and detail. Let it do that job. A narrow royal icing border, a few matching sprinkles, or a small accent in one corner is usually enough to make the cookie feel finished. Heavy icing flowers, tall decorations, or a crowded mix of colors can pull attention away from the image and make a simple party theme feel busy.
For photo cookies, leave a little visible icing around the edge so faces and important details have breathing room. For a repeating party pattern, use the same image size and placement on each cookie, then vary the cookie shapes or border color only when it supports the theme. The most polished cookie sets repeat one or two visual ideas rather than trying to show every idea at once.
When you are planning something more personal, a custom edible topper is a practical way to move from a generic look to a photo, milestone, or family in-joke. FabQuilt 3D can help turn a favorite image or celebration idea into a cake-ready edible design. The custom edible cake topper page explains the 8 × 10 format and photo tips, while the contact page is the right place to ask about a specific celebration.
Give Finished Cookies the Right Time and Space
Once an edible image is in place, do not rush it into a bag or stack it under another cookie. Give the adhesive time to set according to the image instructions. Then package each cookie so the decorated surface is protected from direct contact. A roomy bakery box, single layers, or parchment dividers are much safer than pressing cookies together in a shallow container.

Keep finished cookies cool and dry, away from direct sun, steam, or dramatic temperature swings. Refrigeration is not automatically the right answer for a decorated cookie. If the cookie recipe or filling requires cold storage, follow that food-safety need, but protect the designs from condensation when the container moves back to room temperature. A tall container and a slow, careful unpacking can save a lot of work.
The same handling principles apply when you are making edible image cupcakes or cakes. For smaller individual desserts, the edible image cupcakes guide covers smooth frosting and tray planning. For a larger cake, the cake application guide walks through center-first placement and final borders.
Common Cookie Problems and Straightforward Fixes
The image curls before it touches the cookie.
Pause and look for humidity. Keep the image protected until the cookie and adhesive are ready, then work in a dry area away from a dishwasher, boiling pot, or damp towel. If the backing is stubborn, gently flex it and start from another corner instead of tugging hard.
The image wrinkles or bubbles after placement.
Too much adhesive is the likely cause. On the next cookie, use a thinner, more even layer and lower the center first. A small edge wrinkle can sometimes be hidden with a fine icing border, but lifting and reapplying a settled image usually creates a bigger problem.
The colors look soft after packaging.
Check whether the top touched the container or whether the cookies experienced condensation. Use a taller box, keep layers separate, and avoid sealing warm cookies into an airtight container. The goal is to protect the design without trapping moisture around it.
The image is slightly off-center.
If it has only just touched the cookie, you may be able to nudge it carefully. Once it has adhered, resist the urge to keep adjusting. A neat border or small accent usually looks more intentional than a damaged design from repeated lifting.
A Calm Plan for Custom Cookie Details
Edible images give party cookies an easy visual centerpiece, whether you are planning a shower, graduation, birthday, team event, or a small family gathering. The key is choosing a smooth base, using only the moisture the image needs, and saving the printed detail for the final stage of decorating. That makes the process easier to repeat across a whole batch.
For designs that need a photo, name, age, school colors, or a theme that is hard to recreate by hand, start with FabQuilt 3D’s custom order page. If your party idea is already picked, the cake topper collection has ready-to-personalize choices, and the FAQ keeps ordering and care details in one place. A small test cookie and a little patience are still the best tools you can bring to the counter.
Frequently Asked Questions
Can you put edible images on cookies?
Yes, when the image is made for the cookie surface and you use a smooth, dry icing base. Check the instructions that came with the specific edible image, because frosting sheets and wafer paper can need different handling.
What icing works best under an edible image on a cookie?
A smooth royal icing surface is a reliable starting point. Let the icing dry completely, then use only the small amount of edible adhesive recommended for your image so the cookie does not become wet or bumpy.
Should I put edible images on cookies the night before?
That can work for a dry, well-packed cookie, but the best timing depends on the image material, icing, and storage conditions. Make one test cookie first, then keep finished cookies cool, dry, and protected from direct contact.
Can I use water to attach an edible image to a cookie?
Only if the directions for your specific image say water is appropriate. Too much moisture can make a printed image wrinkle, bleed, or soften, so a very light touch is important.
Related Posts
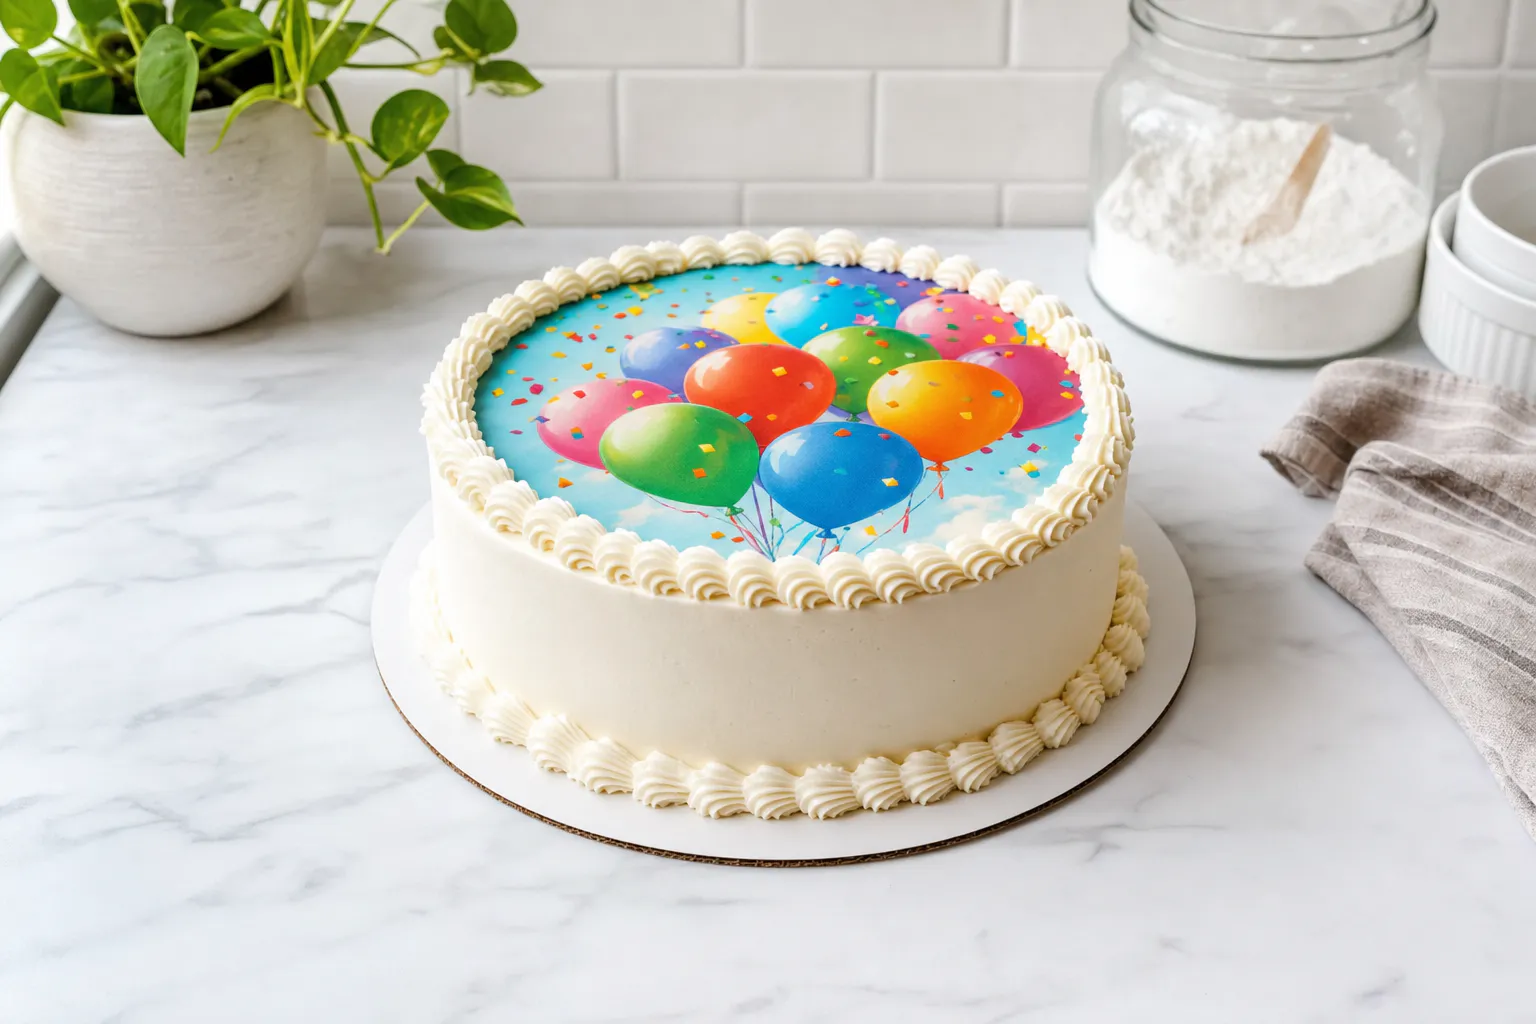 How to Apply an Edible Image to a CakeA simple step-by-step guide to placing an edible image on a cake without wrinkles, bubbles, or last-minute stress.
