

Edible image cupcakes are a small detail with a big party payoff. A photo, color theme, or simple custom design gives every guest a personal-looking treat, without asking you to pipe tiny details onto a dozen cupcakes at the end of a busy day. The trick is less about fancy tools and more about a smooth frosting surface, dry handling, and good timing.
This guide walks through the practical choices that make edible image cupcakes look polished instead of rushed. It covers the frosting that gives a small image the best chance to settle, how to apply each topper without fingerprints or wrinkles, and how to carry the finished cupcakes without letting a lid ruin the design.
Start With a Cupcake Top That Is Smooth and Stable
For a small edible image, the top of the cupcake matters more than the flavor underneath. The easiest surface is buttercream that has been piped or spread into a level round area, slightly wider than the image itself. A tall, loose swirl can still work, but a flat top gives the image a cleaner edge and makes it easier to center.
Think of the frosting as the landing pad. It should be fresh, soft enough to accept the image, and dry enough that it is not shiny with moisture. If the cupcakes have been chilled, let visible condensation disappear before you add anything. A damp surface can make colors soften or the image ripple before it has time to settle.

Buttercream is usually the most forgiving choice because you can smooth it with the back of a spoon, an offset spatula, or a small flat tool. Very wet whipped toppings, glossy glazes, and frostings that have started to melt need more care. They are not automatically off limits, but they leave less room for slow placement or last-minute rearranging.
Choose an Image Size That Fits the Frosting, Not Just the Cupcake
Before you peel any backing, look at the usable top of the frosted cupcake. The image should sit comfortably inside that circle rather than reaching the paper liner or hanging over a soft frosting edge. A little visible buttercream around the design makes the cupcake look intentional and gives you space for a small sprinkle border if you want one.
For a dozen cupcakes, consistency matters. Use the same piping tip and the same number of turns for each swirl, or make every top flat. It does not need to be bakery-perfect, but an even group makes the finished images feel like part of one celebration rather than twelve separate experiments.
If you are deciding between a ready-to-personalize design and something completely unique, browse the current cake topper collection first. A custom option is especially useful for a photo, name, school colors, favorite hobby, or an inside joke that belongs on every cupcake. The custom topper page is the simplest way to start that conversation.
Keep the Images Sealed Until the Cupcakes Are Ready
Do your frosting and any other decorating first. Then clear a dry section of the counter, wash and dry your hands, and bring out the edible images. Leaving a frosting sheet sealed and flat until the last practical moment protects it from kitchen steam, damp towels, and the moisture that can make a small piece harder to handle.
This approach also makes the work feel calmer. You do not want one hand holding a loose image while the other is searching for a tray, piping bag, or cupcake carrier. Get the cupcakes arranged, make sure the tops are dry, and then open only the amount you can place without interruption.
The basic handling advice is the same as it is for a full cake image. Icing Images’ application guidance recommends keeping edible sheets protected until it is time to apply them. For a deeper look at storage and party-day timing, read FabQuilt 3D’s guide to storing edible images before the celebration week begins.
How to Apply Edible Images to Cupcakes
Small toppers feel delicate, but the placement itself is straightforward. Work one cupcake at a time so there is no need to rush. If you are using a sheet with several round images, cut them apart only when your cupcakes are frosted and ready. Leave a small border around each image while cutting so you do not nick the printed edge.
- Check the orientation. If the design includes a photo, name, or a directional pattern, identify the top before peeling the backing.
- Release the image gently. Hold the backing by its edges, flex it lightly, and start from one corner. Peel the backing away from the image instead of pulling the image upward.
- Lower the center first. Hover over the cupcake, let the middle touch the buttercream, then ease the rest down. That gives air a way out and reduces the chance of a trapped bubble.
- Smooth only if needed. Use a clean, dry fingertip to lightly pat from the center outward. The frosting does most of the work, so pressing hard is unnecessary.

If a piece does not release easily, pause rather than pulling hard. Give it a moment in a dry room, gently flex the backing again, and try another corner. Avoid adding water. Extra moisture is usually the thing that turns an easy placement into a sticky one.
Make a Dozen Look Consistent Without Overworking Them
The best edible image cupcakes are simple enough to make in a batch. Once every image is centered, step back and look at the group together. You may notice that one cupcake needs a slightly straighter topper or that a few need the same small finishing touch around the edge.
A narrow buttercream ring, a few coordinating sprinkles, or a small fondant shape beside the image can pull the set together. Keep those decorations away from the printed face of the topper. The design is already doing the visual work, so there is no need to crowd it with tall picks, heavy candy, or a border that hides the edge.
When every cupcake carries a different photo, let the frosting and liner color stay consistent. When every topper uses the same theme, you can vary the frosting colors a little more. The important part is making one element repeat across the tray so guests immediately understand that the cupcakes belong together.
Plan for Refrigeration, Travel, and Serving Time
The finished cupcakes should follow the storage needs of the cake and frosting. If a filling or frosting needs refrigeration, use a tall carrier or bakery box with enough clearance above the cupcake tops. A low plastic lid, cling film, or a shifted tray can mark an image even when the frosting itself stays perfect.
Try to limit repeated trips from a cold refrigerator to a warm kitchen. Temperature changes invite condensation, and condensation is the part most likely to affect the image. If you are transporting the cupcakes, place them in their final carrier before you add the toppers whenever possible. Then keep the box level, out of direct sun, and away from the warm floor of a car.

For more detail on how an edible image behaves once it meets frosting, the edible image application guide covers condensation, frosting texture, and a gentle center-first placement method. The same principles apply, just on a smaller surface.
A Simple Batch Plan for Party Morning
For a dozen cupcakes, make the work easy on yourself: frost all of them first, arrange them in the carrier or serving tray, then place the edible images in two small rounds. Pause after the first few to check the spacing and orientation. Once the pattern looks right, finish the rest with the same calm rhythm.
This order keeps you from touching finished designs while moving cupcakes around. It also gives you one clean place to set the backing sheets and keeps the fragile part of the job from colliding with frosting bags, candles, or party supplies. A few quiet minutes of setup makes the final tray look much more considered.
Common Cupcake Problems and Simple Fixes
The topper looks too big for the frosting.
Do not force the image down around a narrow swirl. Add a little more buttercream and smooth it into a wider top, or move to a slightly larger cupcake. A small visible frosting border looks better than a design that reaches the liner.
The image starts to ripple.
Check for moisture. A freshly chilled cupcake can sweat, and a very soft topping can be wetter than it looks. Give the surface time to dry, then use a freshly smoothed buttercream landing area before applying another image.
The image is slightly off-center.
If it has only barely touched the frosting, you may be able to nudge it gently. Once it has settled, avoid repeated lifting. A small buttercream accent or a few sprinkles around the edge will look better than tearing the topper while trying to chase perfect alignment.
The carrier touches the cupcake tops.
Move the finished cupcakes to a taller box before transport. A carrier needs air space above the frosting, not just enough room for the paper liners. This is one of those unglamorous details that makes a big difference when the party table is finally set.
Make the Design Personal, Then Keep the Process Easy
Edible image cupcakes are especially good for birthdays, showers, graduations, team celebrations, and small parties where everyone gets their own little centerpiece. A photo set can tell a story across the tray, while a name, age, or theme can make a store-bought cupcake feel made for one person.
FabQuilt 3D can help turn a photo or party idea into a cake-ready edible design. Start with custom edible cake topper details when you are deciding on a size or a photo, and use the contact page for a specific request. For quick answers on handling, storage, and ordering, the FAQ keeps the practical details in one place.
Frequently Asked Questions
Can I put edible images on cupcakes?
Yes. Edible images work well on cupcakes when the frosting has a smooth, stable top. A flat buttercream swirl or a small, level circle of frosting gives the image a clean surface to settle on.
What frosting works best for edible image cupcakes?
Buttercream is usually the easiest choice because it can be smoothed into a stable surface without excess moisture. Very wet whipped toppings and glossy frostings need more care because they can soften or ripple the image.
Should I refrigerate cupcakes with edible images?
Refrigerate the finished cupcakes only when the filling or frosting requires it. Protect them in a tall carrier, avoid frequent temperature changes, and uncover them carefully so condensation and packaging do not touch the printed tops.
When should I add edible images to cupcakes?
Apply them after the cupcakes are frosted and close to their final carrier or serving spot. This keeps handling low and gives the image less time around moisture, refrigeration, or a crowded kitchen.
Related Posts
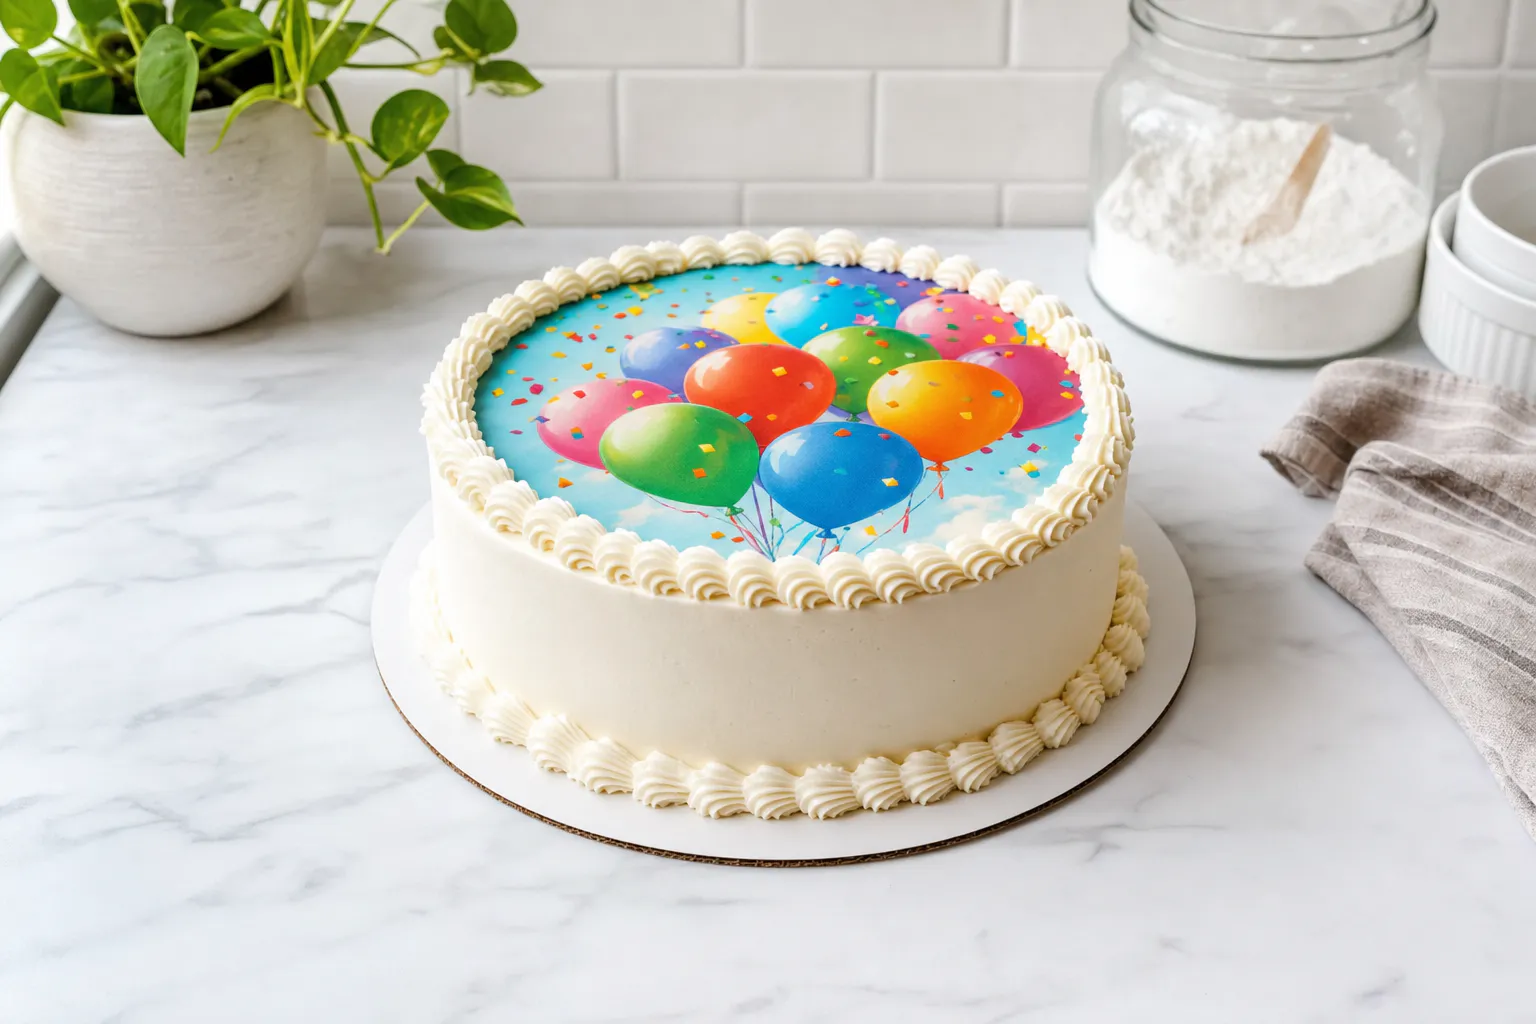 How to Apply an Edible Image to a CakeA simple step-by-step guide to placing an edible image on a cake without wrinkles, bubbles, or last-minute stress.