
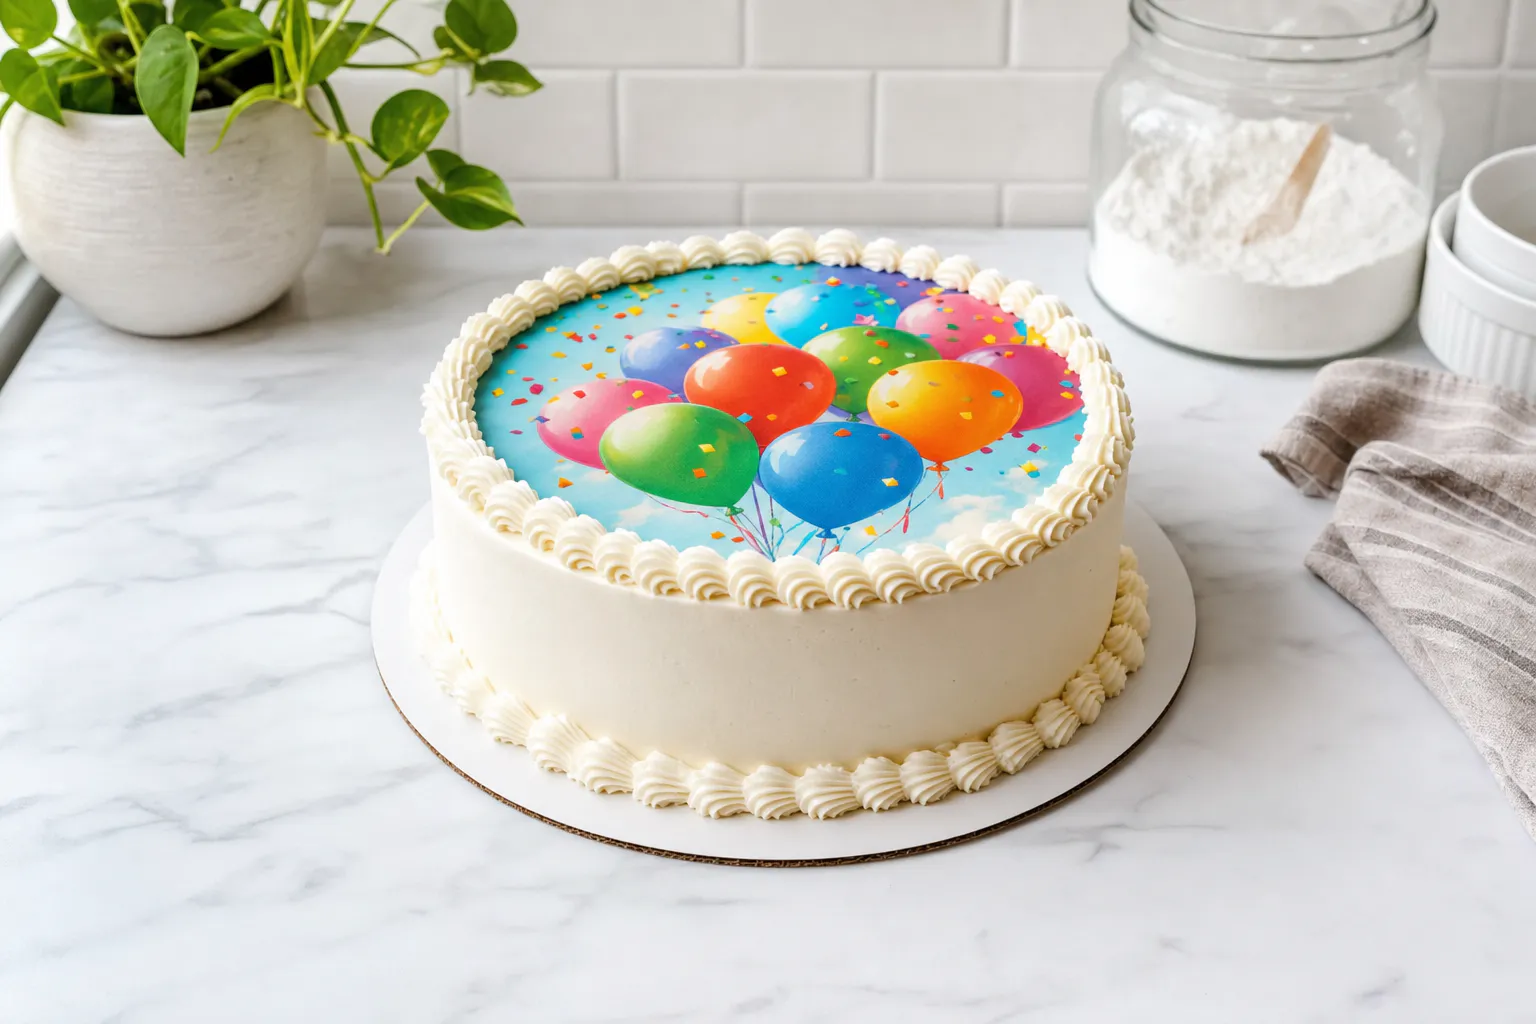
A custom edible image can turn a simple cake into the moment everyone remembers. The good news: placing one is usually easy. The less-good news: most last-minute hiccups come from moisture, a frosting surface that has dried too long, or trying to fix the sheet once it has fully settled. A little preparation avoids all three.
This guide walks through the calm, practical way to place an edible image on a cake. It works especially well for the 8 × 10 frosting sheets used for many FabQuilt 3D cake toppers. Set aside a clean counter, take your time with the first placement, and let the frosting do the work.
Before You Start: Get the Cake Surface Right
The best surface is a freshly frosted cake with smooth buttercream or another ready-to-spread icing. It should feel soft and slightly tacky, not crusted, cracked, or shiny with condensation. The edible image needs that little bit of moisture from the icing to settle in smoothly.
White or very pale frosting gives the clearest result because it does not change the color of the printed design. That does not mean a darker cake cannot work, but light frosting is the safer choice when you want a photo, a character design, or a detailed custom image to stay crisp.
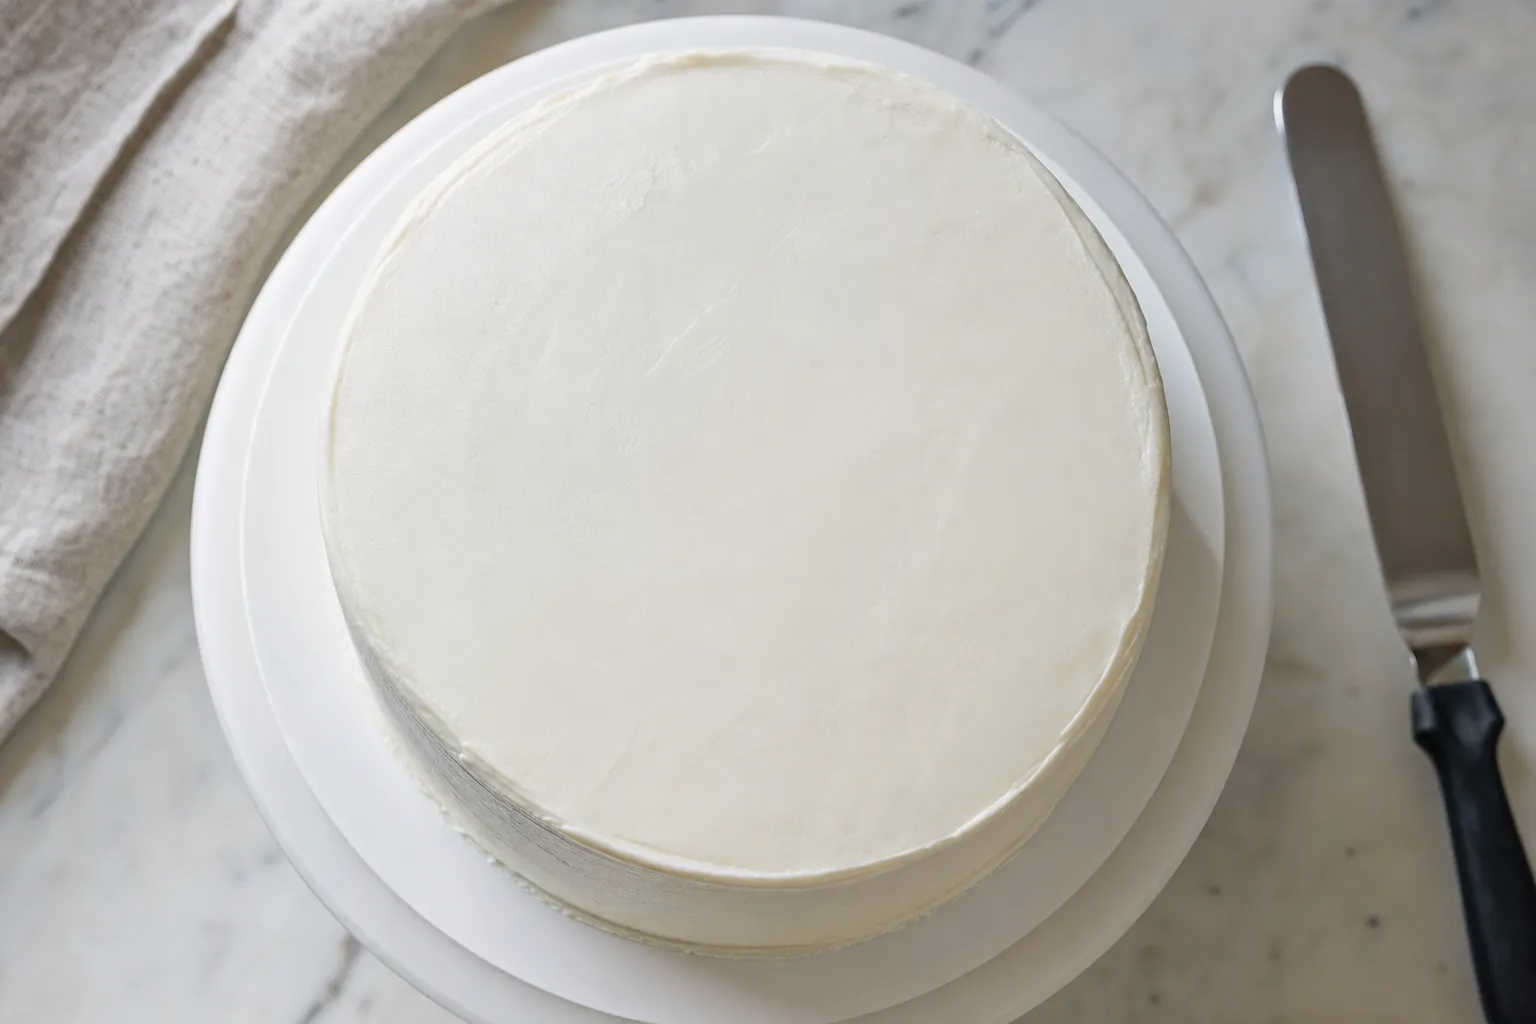
Make sure the cake is cold enough to hold its shape, but do not put the image on a cake covered in beads of moisture. If the cake has just come from the refrigerator, give it a few minutes and gently blot any condensation around the top edge. A damp paper towel is a problem. A dry, soft frosting surface is exactly what you want.
What You Need
- Your sealed edible image.
- A completely frosted cake on a stable board or stand.
- Clean, dry hands.
- A small offset spatula or clean, dry fingertip for smoothing.
- A hair dryer nearby only as a backup for a stubborn backing sheet.
Keep water, damp cloths, and steam away from the edible image while you work. The image is meant to dissolve gently into frosting. Direct moisture before it is on the cake can make it soft, curled, or difficult to handle.
Step 1: Let the Sheet Rest at Room Temperature
Leave the image in its sealed bag while you finish frosting the cake. Once the cake is ready, let the sealed image rest at normal room temperature for about 10 to 15 minutes. This short pause can make the backing easier to release without exposing the printed side to kitchen humidity.
Do not refrigerate an unused edible image. The current Icing Images application guidance also recommends keeping the sheet sealed, flat, and protected until it is time to apply it. That keeps the sheet from absorbing moisture before it has a cake to adhere to.
Step 2: Release the Image From Its Backing
Open the bag only when your cake is ready. Hold the backing sheet by the edges and gently flex it back and forth. Start at one corner, then slowly peel the backing away from the edible image. Think of peeling the backing away from the design, rather than pulling the delicate design up into the air.
If it lifts easily, great. Keep both hands near the outer edges so the center does not sag. If it resists, do not tug hard. Put the sheet back down, flex the backing a little more, and try another corner.
Still stuck? Use a hair dryer on low heat, held well back from the sheet, for a few seconds on the backing paper only. The goal is to dry a little trapped moisture, not to heat the printed image. Once a corner releases, stop and peel slowly.
Step 3: Place the Center First
This is the part that feels fussy, but it is actually simple. Hover the image over the cake and line up the center before it touches the frosting. Hold the two outer edges with both hands. Let the middle touch down first, then lower one side and the other in a gentle arc.
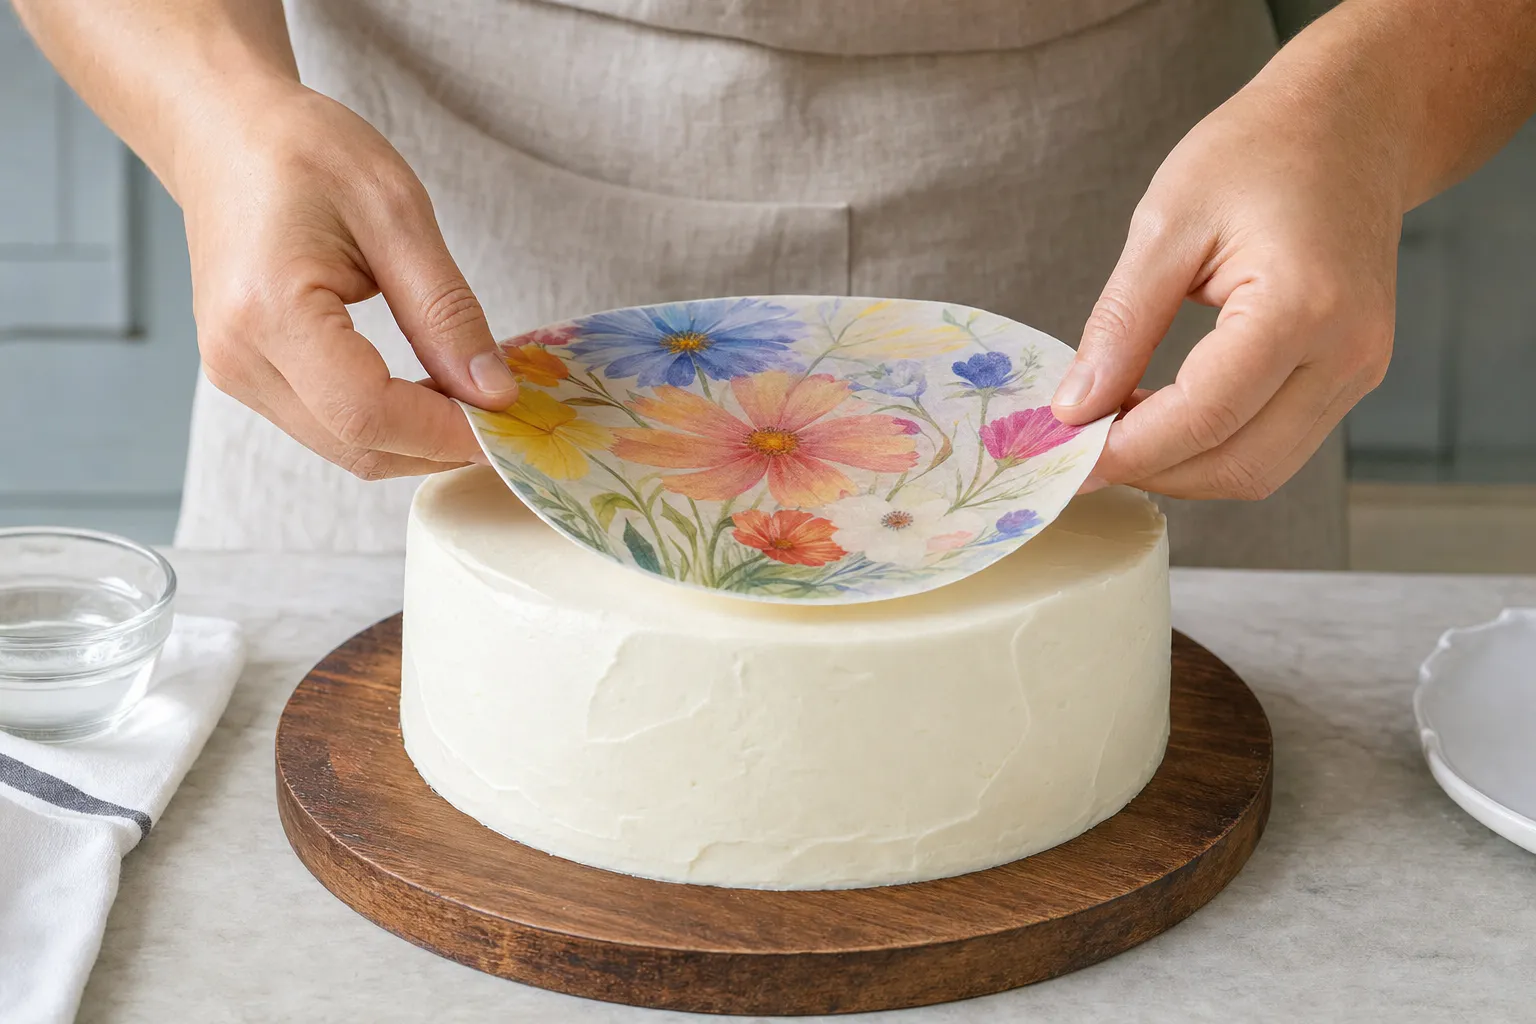
Center-first placement gives air a path to escape as the image settles. Dropping the entire sheet flat at once can trap a bubble under the middle, which is much harder to fix. If the image is round, use the cake edge as your visual guide. If it is a rectangle, line up one straight edge before the rest makes contact.
Try not to lift and reposition the image once the center has adhered. A small adjustment while it is barely touching is fine. Repeated lifting can stretch the sheet or pull frosting with it.
Step 4: Smooth Gently, From the Middle Out
After the image is in place, use a clean, dry fingertip or the flat edge of a small spatula to pat outward from the center. The motion should be light. You are not pressing the image into the cake, just encouraging it to meet the frosting underneath.
For a small wrinkle near an edge, gently guide it toward the outside of the cake. For a small trapped bubble, lightly press around the bubble rather than directly on top of it. Most tiny bubbles relax on their own as the sheet absorbs a little moisture from the icing.
Avoid brushing the surface with water or piping gel unless the specific sheet directions call for it. With a fresh buttercream surface, extra moisture is usually unnecessary and can make colors run or leave a shiny patch.
Step 5: Finish the Border and Let the Cake Settle
Once the image is smooth, add a buttercream border if you want one. A piped border is not just decorative. It can neatly cover the outer edge of a rectangular or round sheet and makes the finished cake look intentional. Keep piping bags and tips clean, and avoid dragging a tip across the printed surface.
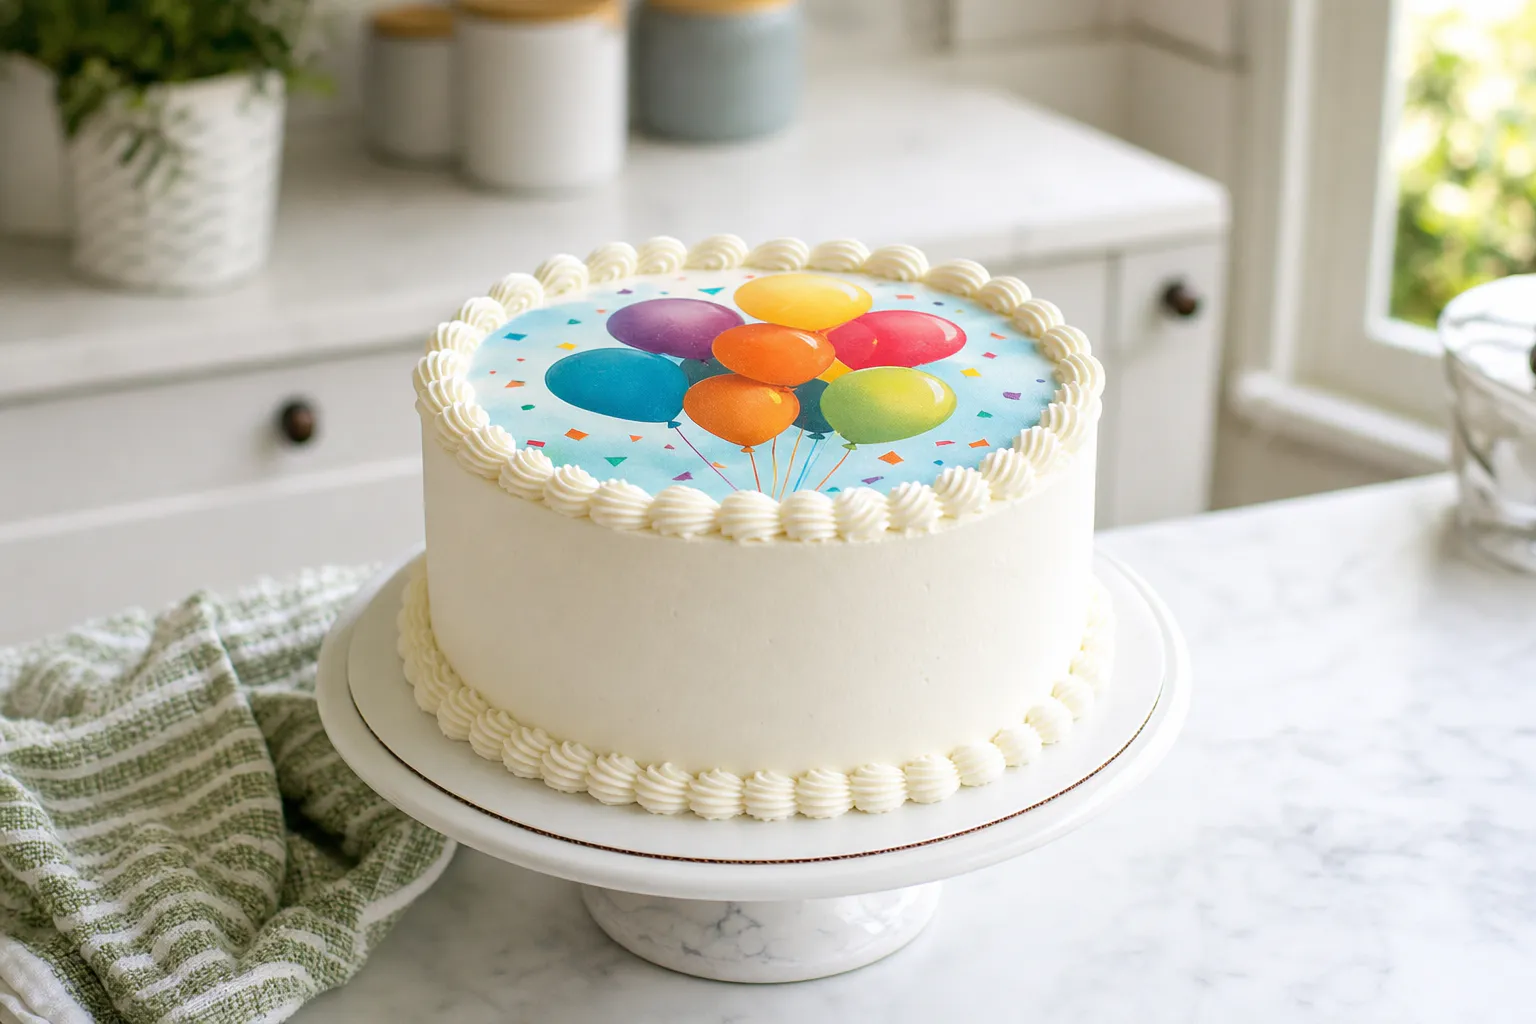
Give the cake a little time to settle before moving it. The image will become more integrated with the frosting as it rests. Once it is on the cake, follow the storage needs of the cake itself. If the cake needs refrigeration, cover it carefully without letting a lid or wrap touch the top.
Common Problems and Easy Fixes
The frosting has a dry skin.
If the buttercream feels firm and dry, the image may not stick well. The cleanest fix is a very thin new layer of fresh buttercream in the area where the image will sit. Smooth it, then apply the image while the frosting is still soft.
The cake has condensation.
Wait for the surface to dry before applying the image. A cold cake taken from the refrigerator can sweat as it warms up. Blotting moisture from the sides is fine, but do not press a towel across the top where the image will go.
The image wrinkles as it goes down.
Stop lowering the sheet and ease the wrinkle outward before it fully sticks. Working from the center to the edge gives you the best chance of a smooth finish. If a tiny edge wrinkle remains, a piped border can hide it beautifully.
The colors soften after refrigeration.
Very wet toppings, especially whipped cream, can affect a printed image over time in the refrigerator. For the most reliable result, use buttercream and apply the image close to the time you will serve the cake.
A Quick Cake-Day Checklist
Before you start, make sure the cake is fully frosted and the top is smooth. Keep the edible image sealed until the last few minutes, wash and dry your hands, and clear a little counter space so you are not balancing the sheet around bowls and piping bags. If you are traveling with the cake, apply the image after the cake is on its final board whenever possible.
Check the orientation of a photo or design before peeling the backing. It is surprisingly easy to line up a landscape picture as a portrait when the party is getting close. Hold the image over the cake once, identify the top edge, then peel and place. A calm thirty seconds here is much easier than trying to correct a design after it has met the frosting.
Last, let the finished cake sit undisturbed for a few minutes before decorating around the image or placing it in a carrier. That short pause helps the sheet settle, and it gives you a chance to spot a tiny bubble or edge that needs a gentle touch before the candles arrive. If the cake will travel, keep the carrier level and leave a little clearance above the top so nothing rubs against the image. Keep the cake away from a sunny car window or a warm stove, too. A steady, cool room is kinder to both the frosting and the printed colors than a rushed, hot trip across town.
If you are decorating the night before, finish the cake only as early as the frosting and filling allow. A buttercream cake generally gives an edible image a stable surface, while a very moist filling or whipped topping deserves a later application. Keep the finished cake protected in a box or tall carrier rather than pressing plastic wrap across the top. When you are ready to serve, the image should still look smooth, bright, and ready for its close-up.
When to Order a Custom Edible Image
A ready-to-personalize topper is an easy choice when you have the theme picked out. A custom edible image is the better move when the celebration is about a specific person, photo, inside joke, school team, or milestone. The design feels more personal, and you do not have to spend the evening trying to recreate it with a piping bag.
FabQuilt 3D can help turn a favorite photo or party idea into a cake-ready frosting sheet. Start with the custom topper page to share what you have in mind, or browse the current cake topper collection when you want something ready to personalize. For storage, ingredient, and ordering answers, the FAQ has the quick details in one place. Have a special request? The contact page is the best place to ask.
Frequently Asked Questions
Can I put an edible image on buttercream?
Yes. A smooth, freshly frosted buttercream cake is one of the easiest surfaces for an edible image. The frosting should be soft enough for the sheet to adhere, but not wet or sliding.
Should I refrigerate an edible image before using it?
Keep an unused edible image sealed, flat, and at room temperature. Refrigeration can introduce moisture that makes the sheet hard to release from its backing.
What if my edible image will not come off the backing?
Give the sealed sheet a few minutes at room temperature, then gently flex the backing. If it is still sticky, gently warm the back of the backing paper for a few seconds with a hair dryer held at a distance.
Can I put an edible image on whipped cream?
You can, but it needs more care. Very wet or unstable whipped toppings can cause color to soften or the sheet to ripple, especially if the finished cake sits refrigerated for a long time.
Related Posts


